Friday, June 17, 2011

garlic dill salmon

Yummy note: What I love about salmon is its mild flavor and texture. When cooked properly, it has such a great flaky texture, it seems to just melt in your mouth. Earlier this year, I went to a restaurant and oh boy, did they overcook the poor salmon. It was so dry, I almost requested a side a melted butter to dip it in to regain some moisture back. But, I thought that would be way to odd to request, so I used my side of smashed red potatoes to hide the dryness. After that experience I've been a bit shy of ordering salmon at the restaurants, so I enlisted my best grill cook instead, my husband. :) Drew's done a great job every time he's grilled the salmon for me, that I don't really miss ordering it out at restaurants now. So with a watchful eye and maybe a meat thermometer in hand you can make some easy delicious salmon fillets.


Garlic Dill Salmon


Ingredients:
4 6-8 ounce salmon fillets (with skin on)
1/2 of a lemon, juiced (about 4 or 5 tbsp)
2-3 tsp dill
2 tsp prepared minced garlic
1 tsp lemon pepper seasoning
3-4 tbsp butter, melted
salt/pepper for seasoning


Directions:
Melt butter. Stir in lemon juice, dill, garlic, and seasonings together. Brush the buttery mixture on the top of the salmon fillets. 


Preheat grill. Once grill has warmed up to medium heat (about 300-325), place salmon fillets, skin side down on the grill. Do not turn the salmon fillets until they are almost done, atleast 5-7 minutes or until they start to look more opaque. That last flip of the salmon only lasts for a few seconds, as you want it on long enough just enough to give you a nice grill mark on top. If using meat thermometer, salmon usually cooks to about 145 degrees for well done.


Monday, June 13, 2011

granola bars

Yummy note:  This last month, I decided to join up with The Secret Recipe Club, created by Amanda of Amanda's Cookin'. So what is this Secret Recipe Club?  Every month, you get a assigned a fellow blogger member to "research" (I use this term loosely) haha.. more like admire and read all the wonderful blog posts. The hardest part is to pick out any one recipe from that person's blog to feature on your own blog. The fun part of the club is this is all a secret until the big reveal day. You know it’s like Valentine's Day all over learning your secret blog admirer :)


So my secret crush, I will call it :) this month was The Big Fat Baker.  The Big Fat Baker, aka Erin Meyer (also on Twitter @bigfatbaker) had a nice collection of baked goodies to pick from, ranging from cupcakes to pies to cookies. I love the fact that she is a younger baker, like myself, who appreciates the organic and natural food options. Being a busy mom, I know that in today’s busy, on the go, society, it is often very hard to take the time and go with the healthier route. When it is possible, I like to use the local produce and organic ingredients, as it tastes oh, so much better. So, what did I choose...drum roll please.... Organic Pumpkin Granola Bars. What drew me to this recipe was that I liked the fact that her granola doesn't solely rely on having nuts as a main ingredient in the recipe. We have a tree nut allergy in the house, so I need to be extra careful of what kind of granola we can have. Being able to make our own granola bars was a hit, that way I could be able to control what ingredients were exactly in this. This recipe was a perfect fit to make our own variation of a nut-free granola bar. 


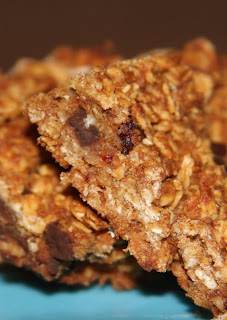
Granola Bars


Ingredients:
3 1/2 cups old fashioned oats
1 tsp pumpkin pie spice
1 tsp cinnamon
1/2 tsp salt
3/4 cup light brown sugar
1/2 cup canned pumpkin puree
1/4 cup unsweetened applesauce
1/4 cup organic honey
1 tsp vanilla extract

adtl mix-ins:
1/4 cup sunflower seed butter
1/3 cup dried cranberries
1/3 cup mini chocolate chips
1/4 cup wheat germ


Directions:
Preheat oven to 350 degrees. Prepare a square baking pan; note, I prepared my pan by adding a layer of aluminum foil to the bottom of the pan for easier removal of the granola bars. Once I lined the pan with foil, I lightly sprayed it with non-stick cooking spray.


First, add the oats, spices, and salt into a large bowl. Combine and set aside.


Next, in a smaller bowl, mix together the brown sugar, pumpkin puree, applesauce, honey, sunflower seed butter, and vanilla. Whisk those ingredients together until smooth. Then incorporate the wet mixture to the dry ingredients and stir together until combined. Finally, add in any desired additional ingredients/mix-ins for an extra texture and yummy factor. I decided to add in some extra wheat germ, miniature chocolate chips, and dried cranberries, but I’m sure nuts or any other dried fruit would be just as nice.


Spread out the granola mixture into the pan and pat down. Bake for atleast 30-40 minutes for crispier bars. For a chewier bar, bake around 25-30 minutes. I made this recipe twice, once with a chewier/thicker bar in a 9x9 pan, and then a thinner crispier bar in a 9x13 pan and both were pretty yummy...


Let the granola cool, and then using a sharp knife, cut them into bars or break apart granola into crumbles and enjoy.

If you'd like to join the recipe club check out the link here on how to sign up for the Secret Recipe Club. Check it out here.

To see more recipes in the Secret Recipe Club check out the link collection below.


Friday, June 10, 2011

toffee bars

Yummy note: So what do you do when you still have leftover chocolate bunnies from Easter? I say bake with them! Why not use them up in a fun way, instead of eating them ear by ear. Seriously, I didn't think we would ever get through it all, but this recipe worked well in clearing out our chocolate stash. This recipe came from my family's recipe collection, and I would guess it might be a Hershey's one since it called for Hershey candy bars. This recipe here pretty much resembles this one give or take a few minor changes.

Toffee Bars


Ingredients:
1 cup brown sugar
2 sticks butter or margarine, softened
1 egg
1 tsp. vanilla
2 cups flour
about 10-12 ounces chocolate (depends on how thick you want the chocolate layer)
Tip: Can use about 8 Hershey candy bars for your chocolate layer.
Optional: 1 cup of nuts or toffee candy pieces

Directions:
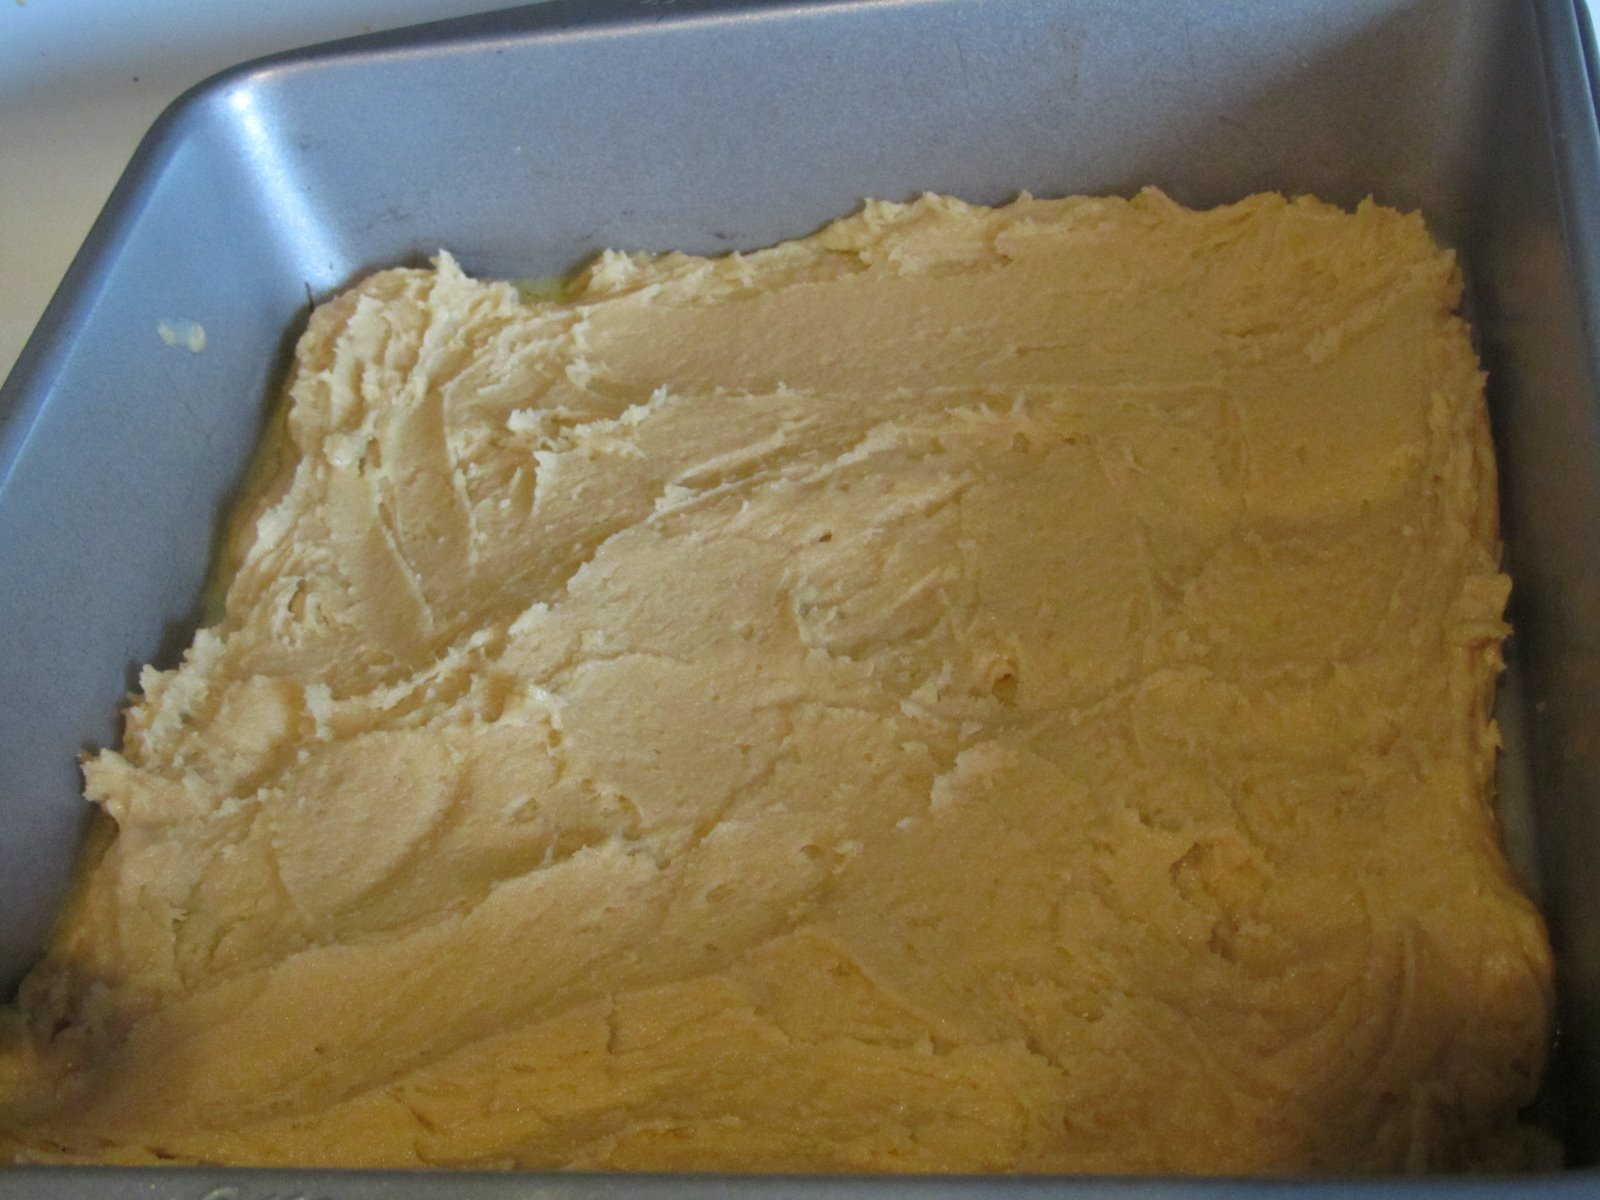
Cream butter, brown sugar, egg, and vanilla together until nice and creamy. Add the flour in, one cup at a time, and mix well. Spread into a greased 9x13 pan.


Bake for about 15 minutes, or until the cookie layer starts turning a golden brown. While cookie is baking, cut or break your chocolate into pieces.


Easter bunnies - before
&
Easter bunnies - after 


Next, remove pan from the oven, and turn oven off. Add the chocolate pieces directly to your cookie layer, while it is still warm. This will then begin melting your chocolate, so that it can be spread around. If the chocolate does not seem to melt well, pop it back into your warm oven for a minute or two to melt the chocolate. Once melted, spread the chocolate around and cover the layer, as if it was frosting. If you want, add the optional nuts or toffee candy pieces on top of the melted chocolate to finish. If you can, let the bars cool before diving into them and as it will be easier to cut into bars. Note, I've easily reduced this recipe in half, and baked it in an 8x8 pan. How do I cut an egg in half, you might ask? Well, I use an egg substitute, where I easily measure out the liquid form of the egg. 1 egg is about 1/4 cup, so I use about 2-3 tablespoons of egg substitute when I cut this recipe in half.

Friday, June 3, 2011

chicken cacciatore

Recently I got myself a copy of Gourmet Today, edited by Ruth Reichl. This book is huge, let me tell you! I was actually a bit scared of it's size, lol. If this cookbook fell of the counter, I think it would leave a dent in my floor. So what do you do with a cookbook of this magnitude, of over 1,000 pages? You go finger flipping and find something that fits your budget! I knew I actually wanted to cook up a tasty main dish using chicken as I had some in the fridge, but wasn't sure what exactly. I was super excited that this recipe for chicken cacciatore that I found didn't require me to run out and buy anything crazy at the store. I think I had almost everything already that the recipe called for, except for a few things, in which I then modified the recipe just a touch. Overall, I was thoroughly happy with the turnout of this recipe, in regards to taste and flavor, and especially how moist the chicken stays. Plus, it didn't take all afternoon to make. It still probably took about an hour, maybe start to finish, but it was worth the time to get such good results of the flavors simmering together. Top it off, making my kitchen smell pretty good.


Chicken Cacciatore
Ingredients:

about 2 pounds of chicken (I used about a pound of each of the white and dark meat as that is what I had on hand already, but you can use what you prefer.)
about 2 teaspoons salt
about 1 teaspoon black pepper
2 tablespoons olive oil
1 onion, chopped
1 green bell pepper, chopped
4 garlic cloves, chopped
1 (28-oz) can whole tomatoes in juice (can chop up the whole tomatoes if you wish)
1 cup chicken stock or chicken broth
about 6 servings of cooked rice or pasta


Directions:

Season chicken with salt and pepper and set aside. Heat oil in a frying pan or skillet and toss in about half the chicken into the pan and continue to brown. Make sure to turn the chicken over atleast once during the browning process. I think I did two batches of the chicken, (one white and one dark meat batch) roughly about 10 minutes each. Once chicken is brown, transfer chicken to a dish to rest.

Next, turn heat to about medium and add in chopped onion, bell pepper, and garlic to the skillet. Cook, stirring occasionally and scraping up the yummy chickeny brown bits from the bottom of the pan. Continue cooking, until onion and garlic are golden brown, probably about 10 minutes. Add chicken broth, and stir, cook and simmer until liquid starts to reduce/bubble a bit. Then, add tomatoes with their juice and simmer, breaking up tomatoes some while stirring it. Simmer about 5 minutes and then add the chicken back into the in sauce.

Simmer, loosely covered, until chicken is cooked through, roughly 30-45 minutes, depending on cut and type of chicken. Just note, the darker meat takes longer to cook than the white meat. Season with additional pepper and salt. Serve on top of cooked rice or noodles.

Tuesday, May 24, 2011

bacon and sun-dried tomato guacamole

Yummy note: So my inspiration for this recipe came from when I went to one of Rick Bayless' restaurants last year. The guacamole there was just so tasty, I wanted to make my own and find some good flavors. I didn't want just any imitation salty flavors, like when you often use one of those pre-packaged mixes you stir up with any ole avocado. So I found some guacamole recipes in the Fiesta at Rick's Cookbook http://www.rickbayless.com/cookbooks/fiestaatricks.html and decided to adapt them to a bit and make my own creation. This bacon and sun dried tomato guacamole is a mix of two of his recipes. I didn't have all the ingredients on hand for any of the recipes, so I made some variations, and it came together very nicely and quickly was able to make a delicious side dish.


Bacon and Sun-Dried Tomato Guacamole


Ingredients:
4-5 slices of bacon (about 1/2 cup or so crumbled up)
2 ripe avocados
1/2 medium onion, diced (about 1/4 cup diced)
1/4 cup of fire-roasted red bell peppers, chopped (can find these peppers already roasted and prepared in a jar)
1/3 cup soft sun-dried tomatoes, chopped
1/4 cup fresh cilantro, chopped
about 1/2 fresh lime


Directions:

Prepare bacon and cook to desired crispiness. Let bacon cool on paper towel (if you can handle just letting the bacon sit without eating it all :). When cool, crumble up bacon.


Cut open and prepare avocados by scooping out the avocado and place in a mixing bowl. I used a potato masher here and it worked beautifully to break up the avocados well.


Next, add in diced onion, cut up sun-dried tomatoes, cilantro, bacon crumbles, and red roasted peppers.


Add in the lime juice at the end and season with salt if needed. Cover guacamole with plastic wrap directly against the guacamole so that it does not turn brown as fast. Keep in refrigerator. Can garnish with extra cilantro and bacon when ready to serve.


Wednesday, May 18, 2011

beef meatballs

Yummy note: What I love about this recipe is that I can make it ahead of time and freeze it. Right after I had my little guy in February, my mom came in and helped me make a batch of these guys to keep in my freezer for those quicker no prep needed meals. With this recipe, you just pop the frozen meatballs into the oven or crockpot, pour on the sauce, and that's it. Just a little bit of prep time makes for an easy supper. You can eat these as they are, or a variation my daughter loves is to throw them on some type of bread and make a meatball sandwich! Another variation how we've used these meatballs is we have made them with a marinara sauce and served them with pasta. My family really loves this recipe, whenever we make it, there is rarely any leftovers since it is such a crow pleaser. I hope you enjoy it as much as our family does too.

Beef Meatballs


Ingredients:

3 lbs. ground beef
1 - 12oz. can of evaporated milk
1 cup oatmeal
1 cup cracker crumbs
2 eggs
1/2 cup chopped onions or substitute with some onion flakes if you don't care for lots of onions
1/2 tsp salt
1/2 tsp pepper

BBQ Sauce Recipe:

Combine 2 cups catsup, 1/2 tsp garlic powder, 1/2 cup chopped onions or onion flakes, dash of Worcestershire sauce, and 1 cup brown sugar in a sauce pan. Cook and stir until sugar is dissolved.

Directions:

Combine ingredients until well mixed.
Then roll mixture into balls. I used a cookie scooper to help maintain a constant size, which helps later when baking them. (This recipe makes anywhere from 60-80 meatballs, depending on size.)
Place meatballs in a single layer on a cookie sheet lined with waxed or parchment paper. If you don't have those, aluminum foil works ok, too. Freeze meatballs until solid. Then refreeze meatballs until ready to use in either a storage container or freezer bags.
When ready to cook meatballs, place them in a 9 x 13 pan and pour over BBQ sauce.
Bake at 350 degree oven for about 1 hour, really depends on the size of your meatballs. You may also cook in a crock pot on high for about 2 hours and then on low for about 3 more hours.

Saturday, May 7, 2011

double chocolate brownie bites

Yummy note: The other night I was really hungry for some brownies, but we had no box mix in the cabinet, so I went searching in my cookbooks and came across this. I think it came out of an older Pillsbury or Betty Crocker cookbook. The beauty of this recipe is that I didn't have to wait for a whole pan of brownies to be finished. Instead in just a few minutes, I had warm yummy chocolate bites that reminded me of brownies.

Double Chocolate Brownie Bites


Ingredients:

1/2 cup brown sugar
1/4 cup butter, softened
1/2 tsp vanilla
1 egg
1 cup all-purpose flour
3 tablespoons unsweetened cocoa
1/2 tsp baking soda
1/8 salt
1/2 cup chocolate chips


Directions:
Heat oven to 375 degrees. Combine brown sugar and butter and beat until light and fluffy. Add vanilla and egg.


Next, mix in flour, cocoa, salt, and baking soda. Stir in chocolate chips until blended well.


Scoop dough out by teaspoonfuls onto an ungreased cookie sheet and bake for about 8 minutes in preheated 375 degree oven. Try not to overbake the cookies or else they will turn out very hard. For one of my batches of cookies I took them out even earlier than the 8 minute suggested time and got almost a more gooey-like fudgy brownie inside.