Sunday, January 19, 2014

French Toast Sugar Cookies

Yummy note: It is a Snow Day! Actually more of a cold weather day for my daughter's school. The phrase every kid wants to hear when it is so cold and yucky outside and all you want to do is stay inside.  And have hot chocolate and cookies (well, that is according to my 7 year old daughter :). So in order to make the snow day complete, we HAD to make some cookies! What a perfect time to use my Secret Recipe Club monthly pick from White Lights on Wednesday. We were looking to make a new type of cookie, so we searched around  and found French toast sugar cookies. This was the top pick with the kids, while her adorable Elmo sugar cookies came in a close second with them. However, we didn't have an Elmo cookie cutter, so they decided no and regular sugar cookies didn't sound as interesting to them. But a breakfast-like cookie with maple syrup in them? Yes, please! Did I mention that Julie from White Lights on Wednesday did an awesome 12 days of Christmas cookies series? Oh, so that is why I think cookies were on the brain for this month :) as I kept seeing one delicious cookie after another. However, I did manage to try out another recipe that was fantastic, so if cookies aren't your cup of tea, try her Garlic Parmesan Monkey Bread


French Toast Sugar Cookies 

Ingredients: 
1/2 cup butter* - room temperature
1 cup sugar
1 egg
3 cups all-purpose flour
2 tsp baking powder
1/2 tsp salt
1 tsp cinnamon
1/2 cup milk
1 tsp vanilla
* Instead of butter, we used Earth Balance Sweet Cinnamon Organic Culinary Spread; which was an awesome replacement as it added an extra cinnamon flavor in our cookies! 

Icing:
1 pound powdered sugar
3 tbsp maple syrup
1 to 2 tsp of milk or water
cinnamon/sugar for garnish


Directions: 
Cream together butter and sugar. Next, add egg and vanilla and mix until combined well. In a large measuring cup or small bowl, combine flour, baking powder, salt, and cinnamon. Alternate adding the dry ingredients and milk while adding it into the first mixture. Note to begin and end with the flour mixture. Once cookie dough is well mixed, chill the dough for about 30 minutes. Preheat your oven to 375 degrees. Then roll out the cookie dough about 1/4" thick on a lightly floured surface. Cut out cookies in a square or rectangular shape and place on a prepared (parchment paper lined) baking sheet. Bake cookies for about 9 minutes, depending on the cookie size. Move cookies to a cooling rack to cool completely before putting on the frosting. Julie's original frosting recipe was butter based and it made a thicker spreadable frosting, but we were looking to make more of an icing instead without using butter. So we modified the frosting recipe to just mix together the powdered sugar in a large bowl with the maple syrup and vanilla. Then you add milk or water a little bit at a time, mixing well, until the frosting reaches a desired consistency. Frost cookies and sprinkle with a little cinnamon/sugar. These cookies stay nice and soft for days, they really were wonderful. Shh, don't tell but the kids and I even had one for a breakfast snack the one day since they were so delicious and tasted just like a cinnamon-sugary french toast.  
  
Our  secret ingredient - Earth Balance Sweet Cinnamon Organic Culinary Spread.
My kitchen help :)
A special add-in: If you can find these cinnamon chips, add about a 1/4 cup of them into the dough, they were a fantastic addition and an added pop of cinnamon flavor!  
Roll chilled dough out to about 1/4 inch thick on a floured surface. 

Cut cookies to square or rectangular shapes. 
Nice puffy cookies - make for a light, flaky delicious cookie!
A nice big pile of french toast sugar cookies. The kids thought they kind of looked like homemade poptarts! 

Delicious!!
 You must try this from White Lights on Wednesday, too--
Garlic Parmesan Monkey Bread!

Don't forget and take a look at the fun all of the other Secret Recipe Club Members are having!

Saturday, January 18, 2014

Pinterest 1 hour cinnamon rolls

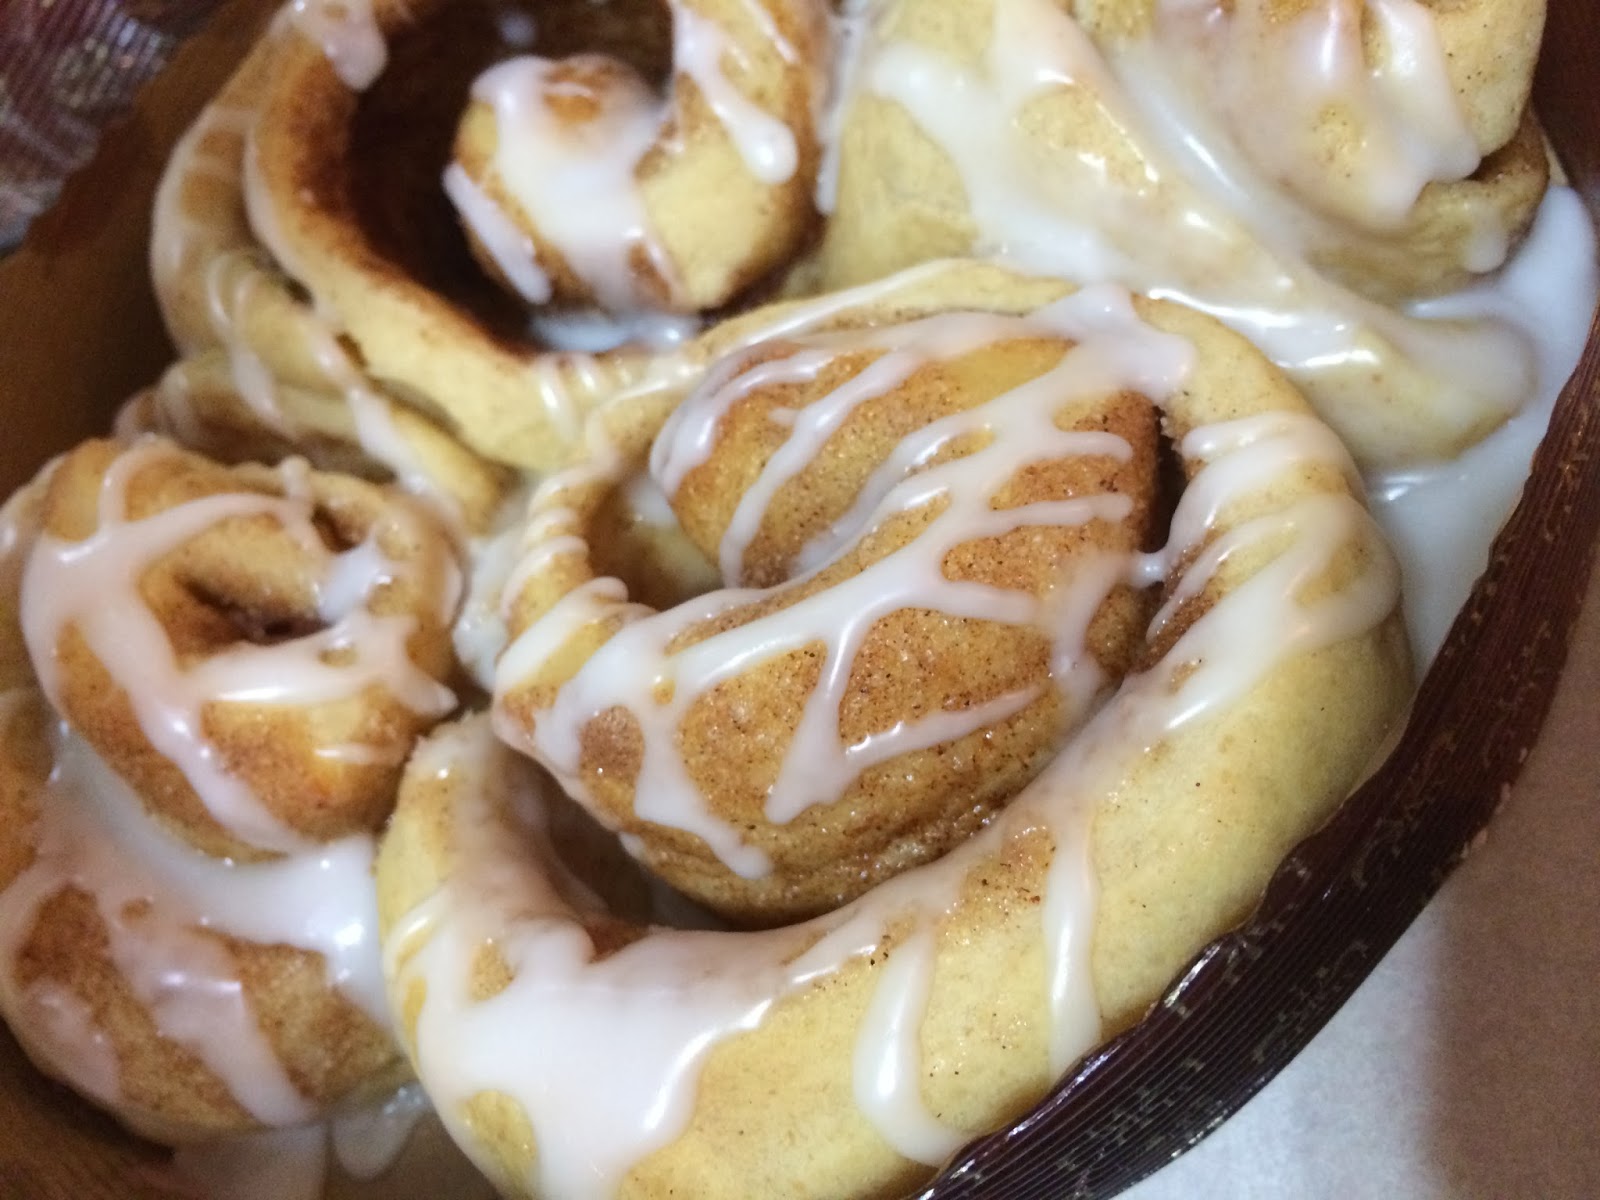
Yummy note: Oh boy, I thought this was going to be one of "those" Pinterest recipes that might not work how I hoped.. and well it has had some good and bad reviews by some comments on other blogs, but it appears to work more than not.. so I wanted to try and figure out why it failed for some and not others.  I found this recipe right before the holiday season and decided to try it out and make some cinnamon rolls for my neighbors this year instead of all of the holiday sweet treats. Wow, it was a great, the original huge batch made enough for everybody in the neighborhood! The other thing that appealed to me was the "1 hour" claim, which really is more like a little more than hour, as interruptions happen. So I got rave reviews from the friends about these rolls, they are amazing the first day and they still tasted great even a few days after with a little rewarming in the microwave. I made them again for the holidays back home, but instead made them into wreaths. I have a picture below to share :) My mother-in-law informed me that her mom used to make these cinnamon roll-like wreaths when they were younger, so this was pretty cool to try with her and kinda brought back some great holiday tradition stories to share. So then I shared out this link for the others to try, my family tried using this original recipe, but cut in half, and had a few issues with it, so I went back to the drawing board to take a look at what might have gone wrong. In the few times, I made it, I think my success with these rolls had to do with these 3 things- yeast, water temperature, and kneading, so I added a few more notes at the bottom to reference these tips. 


Pinterest 1 hour cinnamon rolls
Adapted from http://thismomsmayhem.com/pinterest-1-hour-cinnamon-rolls/ and http://valleyridgerecipes.blogspot.com/2010/04/cinnamon-rolls_17.html

Ingredients:
14 tablespoons warm water (I used about 110-115 degree water)
2 1/2 tablespoons sugar 
2 tablespoons vegetable oil 
4 1/2 teaspoons SAF Yeast 
3/4 teaspoon salt 
1 egg 
2 1/2 cups plus 2 tablespoons of flour (You may need to add in a few more tablespoons of flour while kneading the dough if it appears too sticky.) 


Filling: 
1/4 cup butter, melted (I used a non-dairy spread here to make the cinnamon rolls dairy-free) 
1/2 cup sugar (I've used white sugar and brown sugar before. Brown sugar gives you a bit more caramel-like flavor.) 
2 1/2 teaspoons cinnamon 
*optional could add in some chopped cinnamon chips, nuts, or raisins if desired  

Icing:
2-3 cups powdered sugar 
1 teaspoon vanilla 
2-3 tablespoons milk (I used a non-dairy vanilla flavored coffee creamer here.) 


Directions: 
Preheat oven to 400 degrees. In a large bowl, mix the sugar and yeast together. Next add warm (110-115 degree) water and oil. Mix it together just for a few seconds, until the yeast is incorporated. Let it sit for 15 minutes, you will notice the yeast mixture will start to get activated and foamy. During this process, I just set my bowl on top of the oven to absorb some of the extra heat that the oven was giving off. After 15 minutes rest, add in the salt, egg, and flour. Mix it all together and knead the dough for about 10 minutes. If the dough feels too sticky or wet (basically too hard to handle while kneading), add in a few teaspoons of extra flour. After kneading for 10 minutes, let the dough stand for 10 minutes. Again, I just let it sit on top of my stove while I was preparing my filling. For the cinnamon filling, mix sugar and cinnamon in a small bowl and melt butter in a separate bowl. Next, put a little bit of oil on a silicon mat or parchment paper and roll/pat out the dough into a rectangle. My dough fit into about a large cookie sheet so it was easy to contain the mess while rolling it out. Pour and brush the melted butter on the dough. Sprinkle the cinnamon/sugar mixture out evenly. Then roll up the cinnamon roll to make a long "snake" as my kids would call it. :) Cut into even pieces, about an inch or so wide, you should get roughly about 12 rolls. Place rolls on a baking sheet, lined with parchment paper. Let the rolls rise one last time for another 10-15 minutes. Then bake for about 10 minutes or so, until lightly brown. Let the rolls cool. Prepare icing by mixing the powdered sugar with the vanilla and milk. Whisk together until it is smooth and you have reached the desired consistency for the icing. If it appears too thin, add in more powdered sugar, if it looks too thick, add in a bit more water or milk. Once rolls are cool enough to touch, drizzle with icing. 

Extra Yummy Notes: 
I have only used two different yeast brands, both were SAF yeast, basically an active dry instant yeast. This SAF yeast  you can buy online from like King Arthur Flour product line or I bought mine at a kitchen specialty store. OR some that I got at a local grocery store was the Red Star SAF Gourmet Perfect Rise Yeast. Please comment or share if you have luck or no luck with other brands of yeast, as I love to get that information to help others.  

Water temperature is also important I think, as most yeast packets will say what the best temperature is for activating it. With this recipe, I don't exactly know what "warm water" met with the original recipe, so I put my digital meat thermometer into the water and checked the temperature before I mixed it into the yeast, I went with about 110-115 degree water for my yeast. The other thing is to make sure you mix the dough for the whole 10 minutes. Seriously, I got a good workout practically when I've made these rolls by hand. I like to get my hands on the dough though, I think it is therapeutic for me as I do enjoy it. :)  So I kneaded the dough by hand for 10 minutes. Two of the times, I used a hand mixer with a dough hook, but I had some issues with the dough sticking to the hook a bit, so I then just used a wooden spoon to finish the rest and kneaded it by hand.  I really don't think it gets as incorporated and activated as well when using a hand mixer, unless you have a heavy duty mixer. Which the one time I used my big KitchenAid it ended up working pretty good. The times I used a mixer, my dough appeared to be a little more wet or shaggy-looking, which made it a little harder to cut the cinnamon rolls towards the end.  

One other thing I did with this recipe, was I modified the original down to make about one pan of 12 rolls and not a few dozen. Also, I made it a few times dairy-free, using butter and milk alternatives, which is super easy! Earth Balance Spread and their Sweet Cinnamon "butter" spread worked great as a substitute for butter here. Also, I used a dairy-free creamer in the frosting instead of milk to accommodate. 

Captured a few cinnamon roll making steps along the way.  
Rolls - 1- before first rise --   2 - after rise before going into oven and
-- 3 - size when baked

Holiday Cinnamon Roll Wreath

The 2 different brands of yeast I've used in the past yielding good results. 


Monday, January 13, 2014

Ice Cream Cone Cupcakes

Yummy note:  In this deep freeze weather we've been having, it made me think of ice cream...haha. I know, how can one think of ice cream with this nasty cold weather. However, ice cream is always on my mind. My kids and I could eat it every day. So of course, this summer it was no surprise for my daughter's birthday, she really wanted ice cream treats to take to her party at the park. I said no...I could just picture it.. a hot day, the cooler not keeping ice cream cold at the park and one big hot mess! Oh, and then my daughter and her friends covered in ice cream at the park. Didn't sound pleasant. So I quickly diverted her to another suggestion- "how about ice cream cone cupcakes!" - Thankfully the idea was sold quickly and she loved it since it looked like ice cream but was actually a fun cupcake! Plus, her and her friends could actually participate by putting the frosting on and decorating their own ice cream cone cupcake. For transportation purposes, the ice cream cone cupcakes when plain, are so much easier to package than already decorated. If you do plan to transport them already decorated, there are some fantastic ideas you can get from a Google search. So if you think it is a little too cold outside for an ice cream treat, perhaps this nice baked ice cream cone cupcake is a good alternative! 


Ice Cream Cone Cupcakes
Source: I first remember these growing up from my grandma and my mom. I believe they got it from like the back of a cake mix box, perhaps it was Betty Crocker.  

Ingredients: 
1 box of any flavored cake mix and the oil, eggs, and water as directed on cake mix box
24 flat cake cones (flat bottom cones) 
1 - 2 cans of already prepared frosting or your favorite frosting recipe 
sprinkles or other candy for decorations

Directions:
Preheat oven to 350 degrees. Prepare cupcake pans by placing cupcake paper liners in the pan. Prepare cake mix according to the directions on the box or to your cake recipe. Pour cake batter evenly into the cupcake liners. Make sure it is about 2/3 of the way full and then place an empty ice cream cone down into the batter. Make sure they are pushed down into the cake batter well so they don't pop over during the baking process. They will move some when baking, so just try to do your best by making the ice cream cone level. Bake about 15-20 minutes until cupcakes appear to be done, testing with a toothpick. Remove cupcakes from the pan and cool completely before decorating them. 

Birthday Girl Alicia loves her "mint chocolate chip" ice cream inspired cupcakes! 
Make sure ice cream cone cups are pushed down over the cupcake batter evenly. 
A peek at them while they are baking. Some might tip or fall over during baking, if that happens, just try and fix it by pushing it back up gently. 
Cone cupcakes appear to be done! Ready for transport so the girls can decorate. 
Get ready for the frosting! 
Have fun decorating and mixing and matching flavors! The possibilities are endless! Strawberry, chocolate, vanilla, chocolate chip, rainbow sherbet, etc...