Monday, January 14, 2013

Soft Pretzels

Yummy note: As we welcome another new changing year, this type of blog feature with the Secret Recipe Club is one constant I enjoy looking forward to every month! We get assigned another fellow blogger's site, and then we get to pick a recipe from that blog and then reveal the results of our recipe assignment choice in a big blog party.  The Secret Recipe Club always seems to get a great turnout of amazing recipes and offers so many wonderful blog posts to read up on. This month I had the blog named OnTheMove-In the Galley. It is hosted by a lady named Dee. Dee is from Seattle and spends time traveling, cruising on her boat, and of course, blogging. She has several other blogs that keep her busy! You should check out her beautiful landscape and scenic photography skills on her other blogs - OnTheMove-at HomeOnTheMove-Cruise News, and OnTheMove-Road Trips.  This month's SRC choice, was really about what I had available in my pantry, freezer, etc., to try and use to make this dish feasible. It's been a rough month or so for our family with sicknesses, injuries, and normal holiday craze-daze, that I really wasn't in the mood to make something too crazy or out of the ordinary. Especially when I knew I had a high chance the kids were going to look at me weird and stick their noses up at.. soo... I opted for a comfort food to include them with. These golden brown soft pretzels fit the bill.  Mind you, I really really wanted to make this beautiful salmon and salsa dish, as I LOVE salmon, and but I didn't have any available, so, it is saved for another day. This recipe makes about 8 or so soft pretzels which is great, as it is a smaller batch and they can be gobbled up quick while they are hot and toasty, as we all know pretzels are the best that way.  :) 


Soft Pretzels

Ingredients: 

For the dough: 
2 ½ cups all-purpose flour
½ tsp salt
1 tsp sugar
1 package or 2 ¼ tsp regular instant yeast
1 cup water water 

For the pretzel bath/topping: 
½-1 cup warm water
2 tbsp baking soda
Coarse salt
3 tbsp butter, melted 


Directions:
In a large bowl, mix the flour, 1/2 tsp salt, sugar, yeast, and warm water together until well combined or the dough begins to look a little shaggy looking. Next, knead the dough for about 5 minutes or so until it is softer and gets less sticky. Basically you should be able to poke if with your finger and it shouldn't bounce back, and leave a small indent behind. Lightly flour dough and place it in a plastic bag to rest for about 30 minutes. Next prepare your baking sheets and preheat the oven to 500 degrees. I prepared my baking sheets just with some vegetable oil spray, as I was afraid the parchment paper route wouldn't hold up well in that hot of an oven… I've had an experience of two of burning the paper to a crisp, so I wasn't chancing it with these beauties, so I just make sure I sprayed a copious amount of the cooking spray on the pans.  

Preparing the pretzel dough.


After the dough rested for about 30 minutes, it should have had a nice rise to it. Now you can take it out and place on a floured area and cut the dough into about 8 pieces. The let the dough pieces again rest for about another 5 more minutes; this was hard, as the kids really wanted to get into making “snakes” with that dough!  While this is resting, mix the ½ cup warm water and baking soda in a shallow bowl, and mix well until the baking soda is completely dissolved. We had issues with this part, as I think perhaps the kids’ measurements were a bit off, so we modified this a bit. I ended up adding more hot water to the mixture to get the soda to completely dissolve, as it kept separating out on us and appeared to not dissolve all the way.  After your pretzel dip bath is ready, it’s time to start rolling! 
Alicia rolling out her "snakes."


Take each piece and begin to roll them out into the “snakes” as the kids instructed me.  J  They should be fairly long, so that you can then make shapes for your pretzels. We went a bit creative on a few shapes, and make alphabets, as it was a great learning tool with them. I love to incorporate any type of teaching and learning lessons when I have their attention like that in the kitchen.  After you have shaped your pretzel, dip them into that baking soda bath and place them on the prepared baking sheet. Sprinkle lightly with your coarse salt.  Dee suggested even sesame or other seeds might be delicious on them as well, and I agree; plus I think even a parmesan cheese or a little cinnamon/sugar mix might also be a nice treat too.  Again, let the shaped pretzels rest for another 10 minutes, uncovered, before you put them in the oven to bake. 

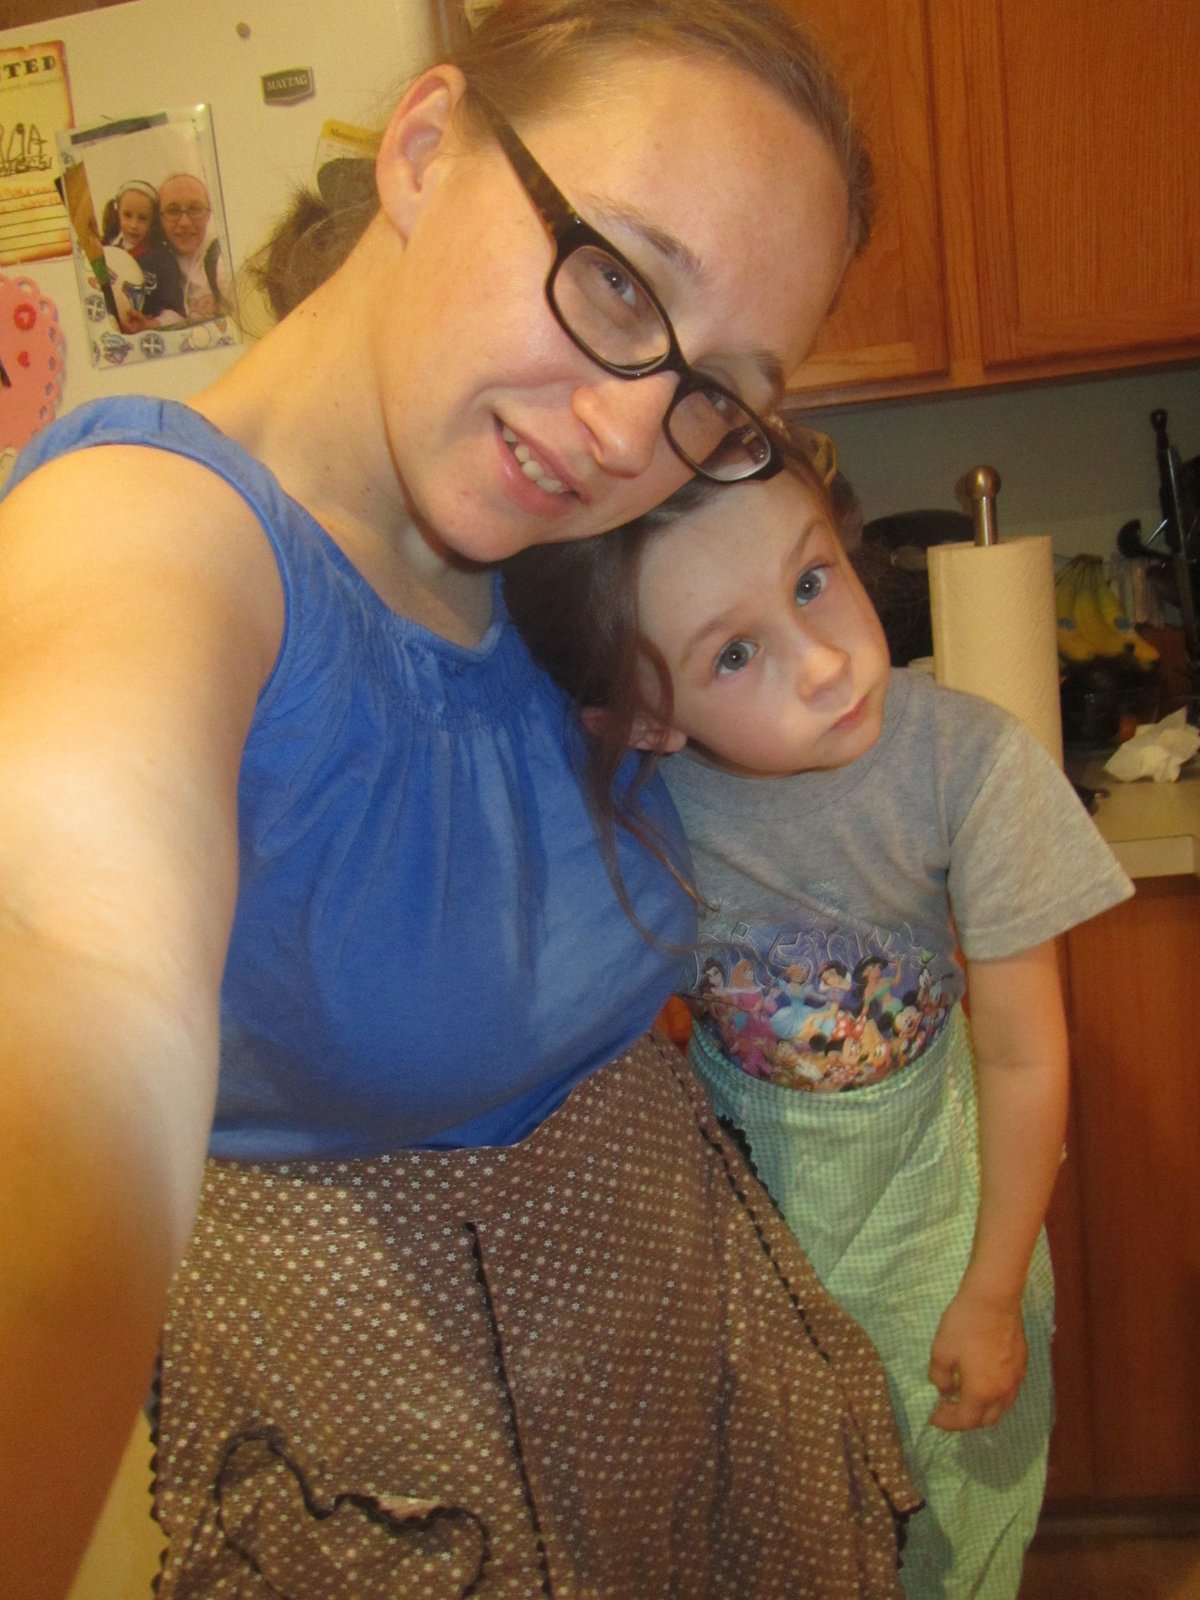
Getting ready to give the pretzel a bath. Ben still looks a bit skeptical of Alicia's "snake." 

Bake for about 7-9 minutes, depending on the shape of your pretzel, as some brown up faster than others, depending on the size. They should achieve a nice golden-brown color from the baking soda bath you dipped it into. Once the pretzels are removed from the oven brush them with some melted butter and enjoy while warm. Eat the pretzels warm, if you have any leftovers, just store them uncovered on plate or place in a paper bag and then rewarm them in the oven or microwave later. 
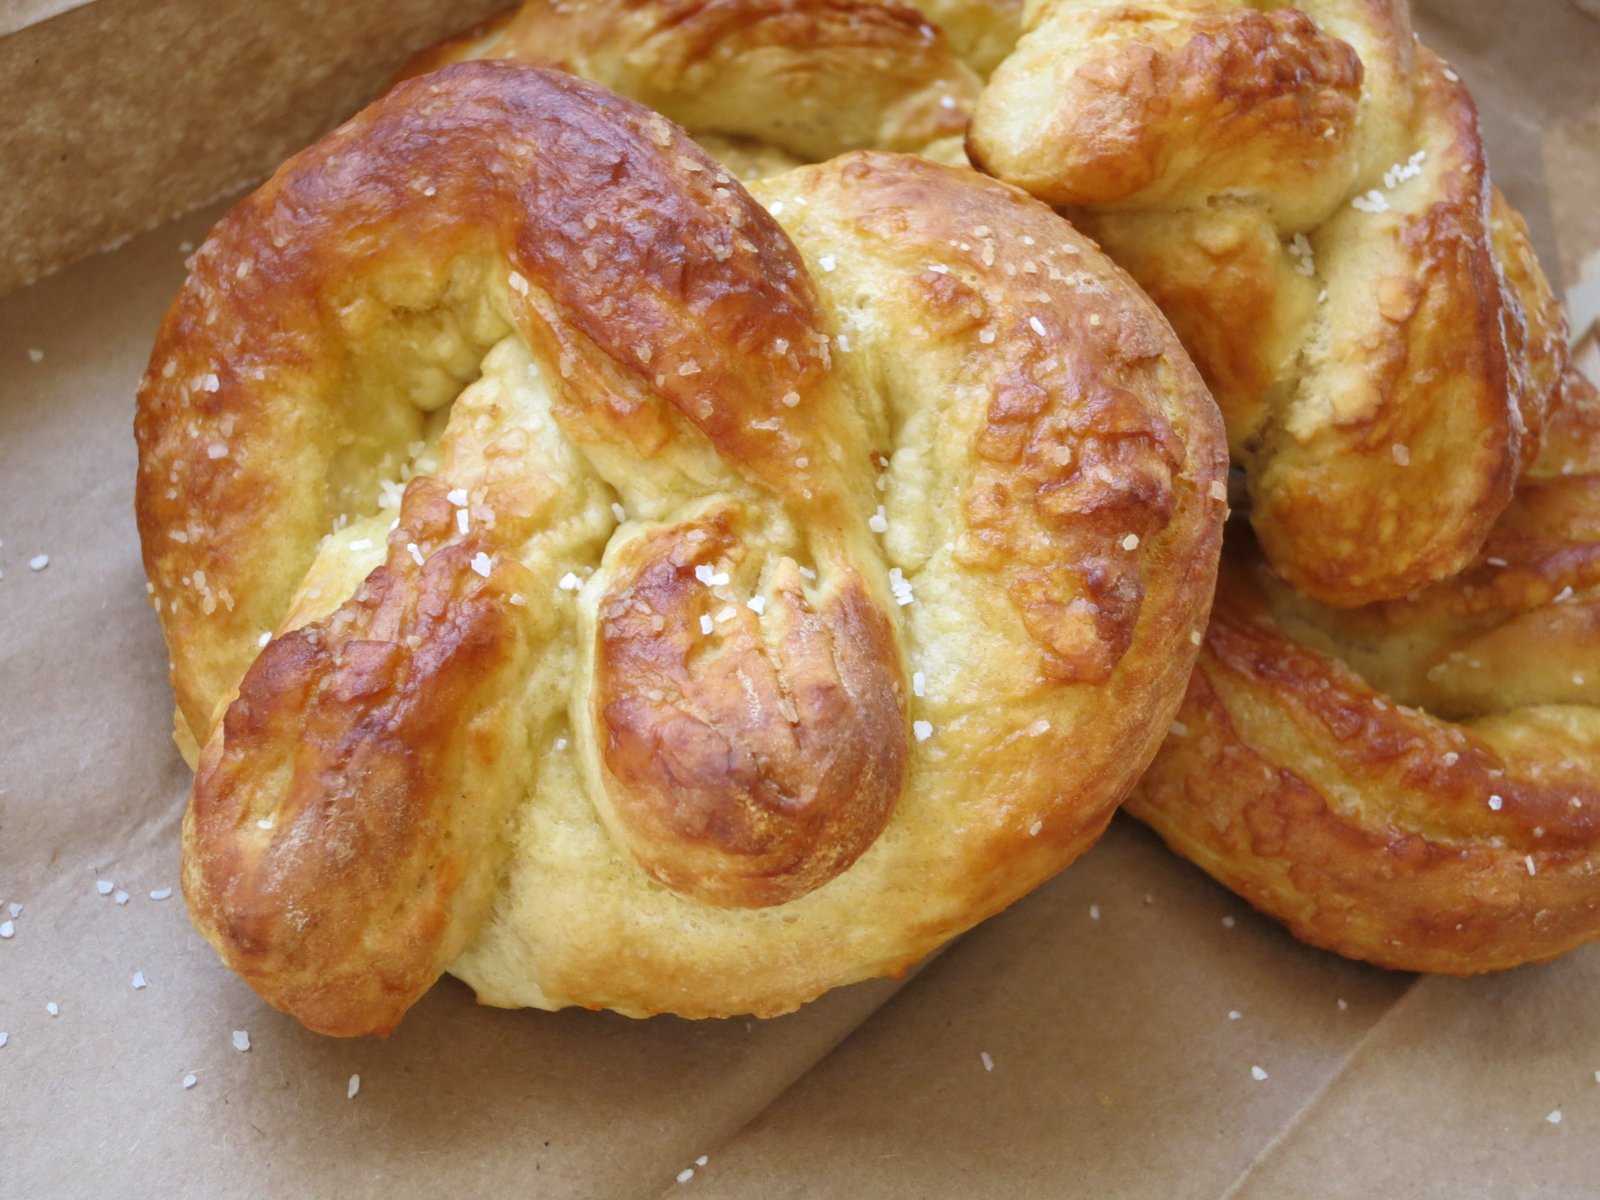
Success!  Golden brown soft pretzels proved to be a nice warm treat to the little tummies on a cold winter day. 

Stop by the other wonderful bloggers and visit their SRC selections for this month!

Wednesday, January 9, 2013

oatmeal drop cookies with the kids

Yummy note: It has been a crazy few weeks around our household with everything going on, but we still manage to find time to make some cookies. The kids and I tried out this oatmeal cookie recipe from an older Betty Crocker Cookbook I acquired a few years back. It is a pretty versatile recipe, as we swapped out the nuts for chocolate chips, and the kids aren't as fond of the raisins so we used more chocolate instead. Also we didn't have enough of the rolled oats, so we used a combination of mostly old-fashioned oats and some quick oats to make our version of these oatmeal drop cookies.


Oatmeal Drop Cookies 


Ingredients:
1/2 cup soft softening (we used Crisco)
1 1/4 cups sugar
2 eggs
6 tbsp molasses
1 3/4 cups sifted all purpose flour
1 tsp baking soda
1 tsp salt
1 tsp cinnamon
2 cups rolled oats (used combination of old-fashioned and quick oats)
1 1/2 cups chocolate chips


Original Cookbook below with recipe pictured above


Directions:
Preheat oven to 400 degrees. Mix together the soft shortening, sugar, eggs, and molasses until thoroughly mixed together. In a separate bowl, sift together the flour, salt, soda, and cinnamon. Add in the sifted ingredients to the above mixture. Last, add in your oats and chocolate chips until it is incorporated well. Then drop out cookie dough on to your lightly greased or prepared cooking sheet. Bake at 400 degrees for about 8-10 minutes until light brown.

My kitchen helpers and official taste testers...


Sunday, December 9, 2012

Asian Lettuce Wraps

Yummy note:  I have enjoyed an Asian flair lately in my cooking. Usually once a week now, in my meal plans I have started to incorporate an Asian night. I'm not sure if it is the easy to toss ingredients together to make something delicious, or if it is healthier, or perhaps it has to do with it is really easy to make dairy-free for my family. I find these Asian Lettuce Wraps great to make as a main meal dish. They are fairly quick to make and I often have almost all of the staple ingredients in my cabinet which makes for an affordable meal. I hope you enjoy these lettuce wraps as much as we do.


Lettuce Wraps


Ingredients:
a head of lettuce (or about 10 lettuce leafs)
1 lb ground turkey, beef, or chicken
a handful or about a cup of shredded carrots (optional)
about a cup of diced mushrooms
1/2 white onion-chopped (I often use dried onion flakes or powder if not available)
2 tbsp garlic minced
1 small can water chestnuts, chopped
1 tbsp red pepper flakes
1-2 tbsp soy sauce
1 tbsp vegetable or sesame oil
1/4 cup hoisin sauce
handful of thin sliced green onions, optional


Directions:  
Brown the meat. Then add in onion, garlic, shredded carrots, water chestnuts, soy sauce, vinegar, and red chili pepper flakes.  

After the carrots and mushrooms begin to soften, add in hoisin sauce, green onions, and extra oil if needed. Cook until mixed together and green onions begin to wilt, just for a few minutes really.

Serve in large lettuce leafs like a wrap or serve in a tortilla shell too if you wish. 
To garnish you can also add in fried thin rice noodles to the top. 

Monday, November 12, 2012

Chocolate Cupcakes

Yummy note: When I got this month's Secret Recipe Club assignment, I took a lot of time looking at Sarah's wonderful blog named Sarah's Kitchen.  Many of the recipes she posted are straightforward and pretty good-looking comfort foods that I could see eating night after night. I am sure her husband, Randal, that she blogs about quite frequently, really gets some great eats! Despite some wonderful main dish recipes that I've bookmarked, I keep seeing beautiful cupcakes... and well, more beautiful cupcakes taunting me.. Sarah, congrats, you had me at cupcake. It was like I shut my eyes, and saw these awesome pictures of cupcakes all lined up, with fluffy frosting, yummy and tasty looking. So enough of the gawking, I had to dive right in, and try it out myself. I really had a hard time picking, I really wanted to make these Salted Caramel Mocha brownie ones, but then I thought about these Caramel ones, and finally I came to a realization I can't eat all these cupcakes myself.... So in typical It's Yummy to My Tummy fashion, I got my non-dairy thinking cap on and decided to think rational and pick a cupcake recipe that had the best options to make dairy-free. These chocolate biscoff ones seemed appropriate  Plus, anytime I can use biscoff spread, count me in. 


Chocolate Cupcakes
Recipe with adaptions from: 
http://sarahsbritamericankitchen.blogspot.com/2012/05/chocolate-cupcakes-with-biscoff.html


Dairy-Free Chocolate Cupcakes 

Ingredients: 
3/4 cup plus 2 tbsp all-purpose flour
6 tbsp cocoa powder
1 tsp baking soda
1/2 tsp baking powder
1/2 tsp salt
1 cup sugar
1/4 cup vegetable oil
1 large egg
1/2 cup coffee
1/2 cup soy yogurt 
1 1/2 tsp vanilla extract


Directions: 
Combine the flour, cocoa powder, baking soda, baking powder, and salt and set aside. In a separate mixing bowl, cream sugar, vegetable oil, and egg until smooth, for just a few minutes. On low speed, blend in half of the dry ingredients until incorporated. Next, blend in the coffee, yogurt, and vanilla. Add in the remaining dry ingredients, and mix until just incorporated. Using an ice cream scoop, evenly distribute into cupcake wrappers. Bake at 350 for about 22-24 minutes. Makes 12 cupcakes. 


Biscoff Frosting

Ingredients:
1 cup butter substitute, softened
3/4 cup biscoff spread
1 tbsp vanilla extract
3 cups powdered sugar
3 tbsp soy milk or soy creamer


Directions:
Beat the butter substitute and biscoff spread until smooth.  Add the vanilla and powdered sugar and mix until combined.  Add in some soy milk and beat until it is creamy and combined well. 


To make some decorations, I just melted about a cup or so of non-dairy chocolate chips with a teaspoon of shortening together. Then I poured the melted chocolate into mini cookie cutters to set. Then you push out the chocolate when set and you have pretty cut-out chocolates to decorate cupcakes with. 


I need some serious help or therapy though... I couldn't stop at the Biscoff frosting. I had to indulge and make one of these Swiss Meringue Buttercream frostings I've read all about from Sarah. I've never made one like this before, so it was a bit intimating. Trust me, I wish I had a few pictures while making the frosting, but I was freaking out a bit too much. It was a bit more temperamental than I was ready for... but eventually got it to work. It took time for mine to "set up" as it looked all weird, soupy, and then curdled all in a matter of a few minutes, so as my mixer whirled the frosting together, I quickly sought out reinforcements and read up on Swiss meringue frosting.  Go ahead, some day when you are bored, Google it, and be educated about frosting. :) After my, mini freak outs, the frosting came together, and it was pretty and tasted smooth and silky buttery like Sarah frequently mentioned in several blog posts. It was now ready to decorate my moist chocolaty cupcakes!  Here's the link from the recipe I followed for the Swiss Meringue Frosting from Sarah's Kitchen- http://sarahsbritamericankitchen.blogspot.com/2011/12/snowflake-cupcakes.html


This cupcake recipe was so easy to make, that I don't know why you would want to use the boxed mixes, when you can get such great flavor and depth from this recipe! They were super moist and delicious. I will surely make these again. Thanks again Sarah for sharing your great recipes. 


For more information about the Secret Recipe Club, check it out --> http://secretrecipeclub.com

Monday, November 5, 2012

frozen yogurt covered fruit bites

Yummy note: I had a large container of soy yogurt that was getting close to the expiration date, so I knew I needed to use it up quick. I already had made some muffins and didn't want to use it for baking, so I decided I was going to use it for smoothies later. Then it hit me, how about some frozen yogurt bites for the kiddo... Sure, that would work, however, he LOVES fruit, so why not do frozen yogurt fruit bites instead! These sure have been a nice healthy snack to just pop out of the freezer in a snap to enjoy. Next up, I make a bigger batch and throw some in my morning smoothies that way!


Frozen Yogurt Covered Fruit Bites


Ingredients: 
Container of yogurt, your choice, I used what I had leftover, which was a plain flavored soy yogurt.
Fruit - I used blueberries and a sliced banana (next time I want to try strawberries or cranberries perhaps would be a nice sweet treat)


Directions:
Toss blueberries or other desired fruit in a bowl of yogurt. Stir yogurt and fruit, enough to cover.  
 
Then take two toothpicks and begin to fish out your covered fruit. This is the most tedious part, but it really goes by faster than you think, once you get going.


Place yogurt covered fruit onto a waxed paper lined cookie sheet and place uncovered in the freezer for atleast a half hour. At this point, they might be starting to set up a bit, really depends on your freezer. I actually forgot about mine until the next day and then pulled them out of the freezer and they were pretty solid, lol. However, it was perfect for packaging up!
 

I also made a chocolate yogurt covered banana slices, as I still had plenty of yogurt left after the blueberries. I just added in a few teaspoons of cocoa powder and a little drizzle of chocolate syrup for sweetness and it was perfect to taste.
 

I think these were my favorite of the two fruits, as it has been a nice healthy snack when I go looking for ice cream in the freezer!  :) 

Monday, October 15, 2012

Nacho Cheese Dorito Meatballs

Yummy note: I knew I would like this Secret Recipe Club blog assignment this month, I mean it had "Cheese Curd" in the title!  I love my cheese curds.. well, Cheese Curd In Paradise is hosted by Ashley from Wisconsin, so, yeah go Green Bay Packers!  Shh, don't tell my Chicago Bears loving husband... Ashley mentions the Packers several times throughout her blog, so you can tell she is a true Wisconsinite with her blog name and her love of the Packers! :)  So it was a toss up between Darn Good Roast, Root Bear Pork Chops, Dulce de Leche (as I've always wanted to make that) or this- Nacho Cheese Dorito Meatloaf. Yes, it hit me at the one word, Doritos. Yes, that is a guilty pleasure I enjoy from time to time. I especially enjoy them using them in various dishes; make taco nachos, add them to a salad for some cheesy crispy when I don't have any croutons, layer them on top of pizza - aka a Taco Pizza (which is a household favorite here), and of course, use them for a bed under some chili and it's a meal. Ok, so perhaps I use Doritos a lot in my cooking, lol, but when I saw this recipe for meatloaf from Ashley at Cheese Curd In Paradise it was a new one for me and I HAD to try it. I modified the recipe just a tad and made the meatloaf into meatballs instead as they are more kid-friendly in this house (not to mention a quicker bake on busy nights).  I love having leftover meatballs for using with either spaghetti or in a meatball sub sandwich, too! These Nacho Cheese Doritos Meatballs were a nice combination of meat with a slight cheese flavor in a pool of sweet bbq sauce, yeah, now aren't you ready to try this recipe?! 


Nacho Cheese Dorito Meatballs

Ingredients: 
2 lbs ground beef
1 egg
1/2 white onion, diced
1 cup Nacho Cheese Doritos, crushed
1/3 bottle ketchup
1/2 tsp black pepper
1/2 tsp garlic powder
1 tbsp Worcestershire sauce
1/8-1/4 cup barbecue sauce (depending on how much sauce you like)
* Note:  There is no additional salt in this recipe, as the saltiness of the Nacho Cheese Doritos is enough to flavor the meatballs.


Directions: 
Preheat oven to 350 degrees. Then crush the Doritos to a fine crumb, similar to panko bread crumb texture. I just used a big sandwich bag and crushed them with a rolling pin. In a bowl, add in the ground beef, egg, onion, crushed Doritos, seasonings, and Worcestershire sauce. Mix and then add in the ketchup, basically adding enough ketchup to just moisten the meat mixture and stir until well combined.  Spray a baking dish with non-stick cooking spray and assemble the meatballs with your hands to make a nice firm ball.


Bake for about 20 minutes and remove from oven. Drain off any excess grease or drippings in your pan and then add the barbecue sauce on top of the meatballs.


Bake for about another 15 minutes or so, depending on the size of your meatballs until they are done. I got about 2 dozen meatballs from the recipe, but if you are making this in a loaf form instead of meatballs, it will form 1 large loaf. Prepare the same way, but just adjust your baking time. For a meatloaf, bake in a greased 9 x 5 loaf pan in a 350 degree oven for about 35 minutes, then top with barbecue sauce and bake for another 25-30 minutes until done.


Monday, October 1, 2012

Chocolate Peanut Butter Squares for Daniel

Yummy note: This post by far has been one of my tougher posts to pull together on It's Yummy to My Tummy. Over a year or so ago, I started to participate in this recipe blogging group called the Secret Recipe Club. I speak of it often on my bog, as this "club" really has such a great group of people involved. Everyone has a sincere respect for each other and their food blogs, that it has created a sense of community among us all. So when we recently heard the news that a fellow blogger, Daniel Saraga, had recently passed away, we knew it would only be fitting to post a tribute to honor him. I have never personally met Daniel from the Haggis and the Herring, but we all got to know him from his blog posts and comment interactions within our group. Daniel's presence will surely be missed by all. Please take a minute and reflect with his wife, Meredith, as she honors Daniel and his family
From a few comments and posts I recall about Daniel, I remember him noting he enjoyed the peanut butter and chocolate flavor combinations, so I thought I'd make this recipe of his, as a tribute...


Chocolate Peanut Butter Squares

Ingredients: 

For the Cookie Bar: 
1/2 cup white sugar
1/2 cup brown sugar
1/2 cup butter, softened
1/3 cup peanut butter
1 cup all-purpose flour
3/4 cup quick cooking oats
1/2 tsp baking soda
1/4 tsp salt
1/2 tsp vanilla
1 egg
1 cup semisweet chocolate chip

For the Glaze:
1/3 cup powdered sugar
2 tbsp peanut butter
1-2 tbsp milk

Directions: 
Preheat oven to 350 degrees and prepare a 9x13 pan. I lined the pan with parchment paper and then lightly sprayed it with nonstick spray. In a bowl, mix the sugars together with the butter and peanut butter. Stir in the flour, oats, baking soda, salt, vanilla, and egg. Once dough is formed, spread out evenly in the pan. Bake for bars for about 15-20 minutes or until golden brown. Remove from the oven and sprinkle with chocolate chips; the heat will begin to soften the chocolate chips. Let it stand for a few minutes and then spread the melted chocolate over the cookie bar layer. Let it sit until the chocolate is firm. Prepare the peanut butter glaze by mixing powdered sugar, milk, and peanut butter together until it is smooth and thin enough to drizzle over the chocolate layer. Drizzle glaze and then refrigerate again until cool and ready to cut. This is where the parchment paper layer works really well, as you can just remove the bars from the pan easily and cut it on a cutting board.