Showing posts with label Breakfast. Show all posts

Thursday, February 4, 2016

Granola

Yummy note: 
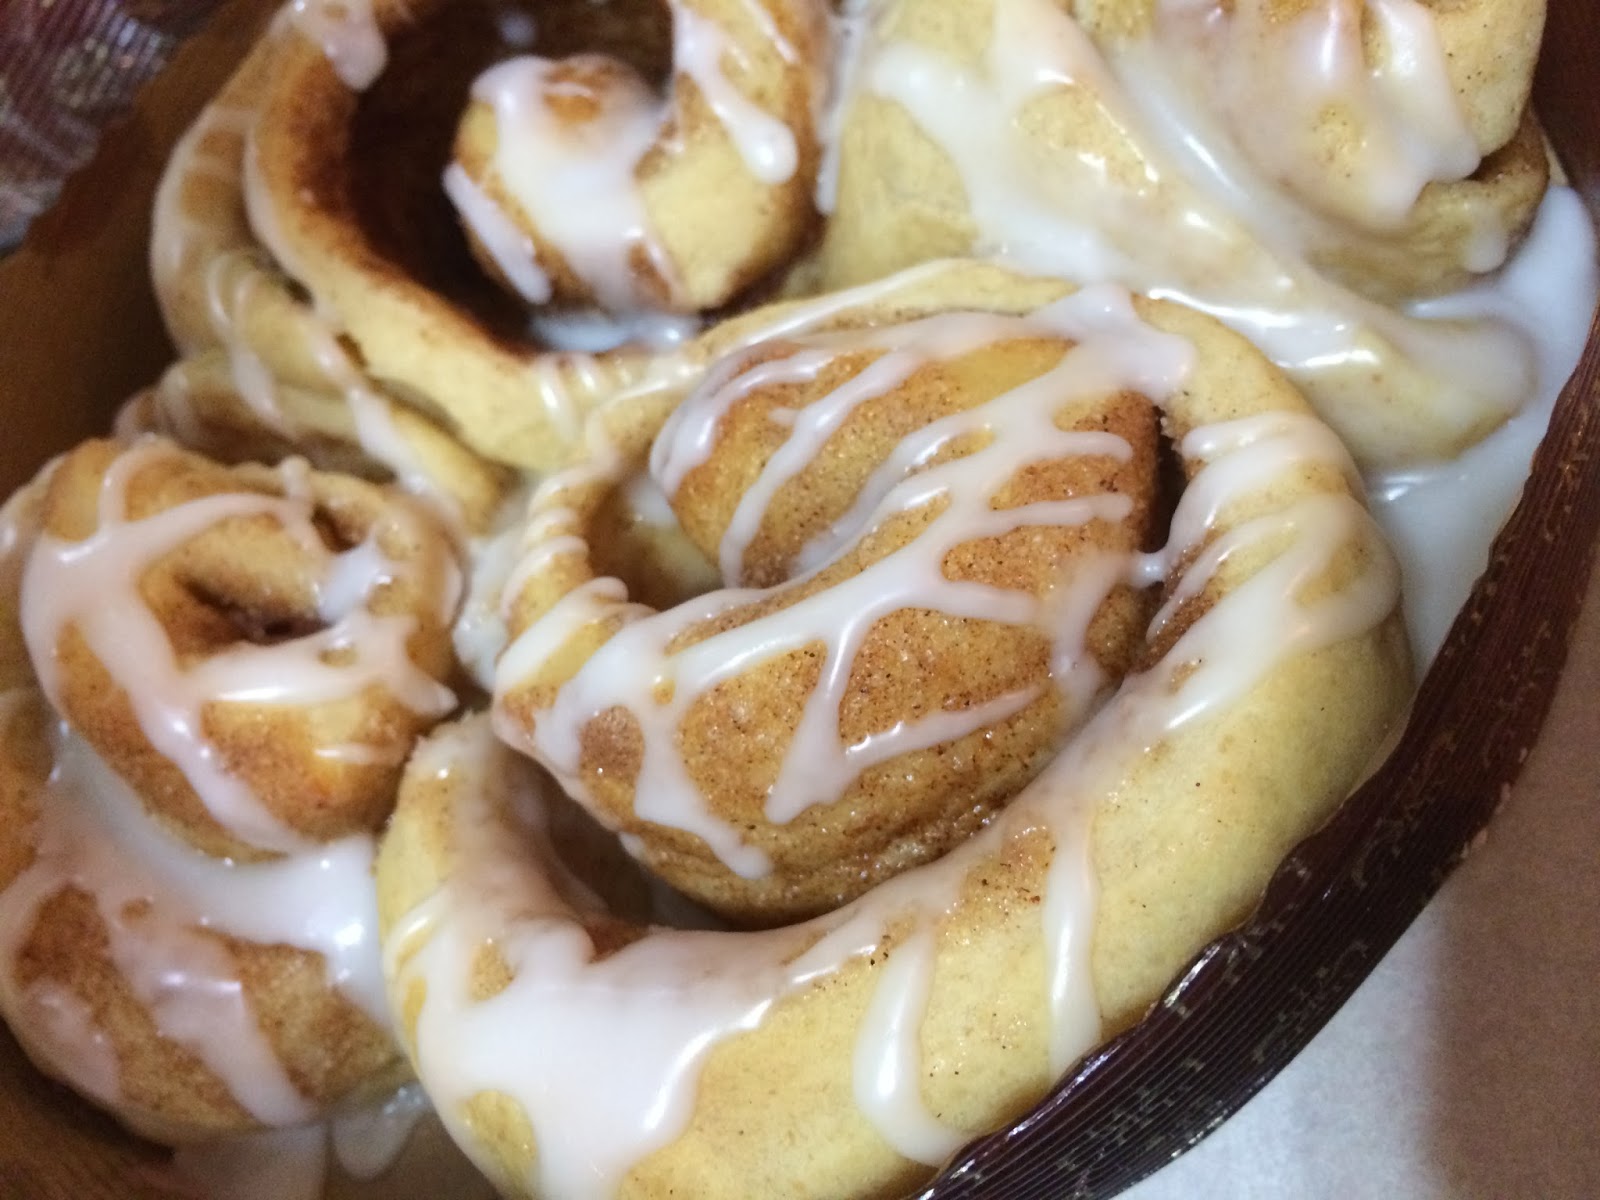
Just recently I've been making my own granola more, I really don't know why I didn't before. It's great, as you can control the quality of the ingredients that go into the granola, which in turn makes it amazing compared to the prepackaged store stuff. My kids have several allergies to contend with so it is often easier for me to just make my own stuff than to buy and contend with potential contamination. I found this granola recipe, seriously to no surprise from Alton Brown. My daughter recently has been getting hooked on old Good Eats episodes, so it's awesome to find gems like these and rewatch with her. Did I mention before that I got to meet him a few years back and he's got to be one of my favorite food aficionados. So thank you Mr. Alton Brown for your amazing granola recipe, as it is hands down a keeper in our book and always gets rave reviews.  


Granola 


Ingredients:
3 cups rolled oats or old-fashioned oatmeal
1 cup slivered almonds*
1 cup cashews*
3/4 cup shredded sweet coconut
6 tablespoons dark brown sugar (equivalent to about 1/4 cup plus 2 tablespoons)
6 tablespoons maple syrup (equivalent to 1/4 cup plus 2 tablespoons)
1/4 cup vegetable oil or coconut oil
3/4 teaspoon salt
1 cup raisins

Directions:
Preheat oven to 250 degrees. In a large bowl, mix together the oats, nuts, coconut, and dark brown sugar. In a separate bowl, combine the maple syrup, vegetable oil or melted coconut oil, and salt. Pour the liquids into the dry ingredients and stir well to coat mixture evenly. Spread out the granola onto 2 large cookie sheet pans. I lined my pans with parchment paper, but I don't think it is necessary. Cook for 1 hour and 15 minutes, stirring every 15 minutes to ensure the granola does not burn and to achieve a nice brown and crunchy golden granola. Remove pans from the oven and pour granola into a large bowl and mix in any additional dried fruit or raisins. Keep stored in an airtight bag or container. This will keep for several weeks usually, if it lasts that long in your house before it is gone. :)

* Yummy note- I have swapped out these ingredients to be sunflower seeds and other dried fruit to give it crunch and variety to eliminate the nut allergy concerns. Also, this recipe can be done in a dehydrator or oven. I've done it both ways numerous times and it has worked great. If using a dehydrator, dry according to the manufacturers recommendations, but usually the granola takes about 4-5 hours to achieve desired dryness and crunchiness.


Sunday, June 14, 2015

Bacon Hash and Broiled Eggs

Yummy note: Bacon... yes, whenever I say that word, I think everybody I know, their ears, eyes, and nose perks up... oh, not to forget the cat too. The bacon aroma just fills the house. Not sure what it is about the bacon, but it seems it has some magical power. Speaking of that, the blog I was assigned to for this Secret Recipe Club, mentioned a kitchen witch. I have never heard of this custom, but I like it, and could totally use a kitchen witch with good luck in my kitchen to help prevent any thing from burning, boiling over or spilling!! So back to the bacon, I got this amazing bacon hash and broiled eggs recipe from Rhonda at the the Kitchen Witch blog for this month's Secret Recipe Club. Thanks to my hubby for helping me scout out this hash recipe for this month, I think it is a keeper recipe on our list :) It had delicious flavor, not to mention you use bacon fat to saute potatoes in; yes, bacon fat,yes, grease, that is what gives this dish its depth of flavor. I was a bit intimidated at first, as I've never made a hash from scratch, as I usually just by frozen or pre-diced potatoes. I learned my lesson, not again, just use real potatoes, so much better and crispy.  I hope you enjoy this recipe as much as my husband and I did! 


Ingredients: 
1 pound bacon, diced
2 russet potatoes, peeled and diced
1 small onion, diced
4 eggs
2 ounces grated cheese, optional
Salt and Pepper to taste

Directions: 
In a large oven/broiler-safe skillet, I used my cast iron skillet, as bacon turns out wonderfully crispy usually in this pan. Over medium heat, cook bacon until the fat starts to render. Once you have a nice coating of that bacon fat/grease coating your pan, add the diced potatoes and onions. Cover pan and cook for about 10-15 minutes or until potatoes are tender and onions start to caramelize, making sure to check and stir frequently so they don't stick on the bottom of the pan. Oh, that is also the next best part here, too...caramelized onions with crispy bacon..yum... Be careful though, that pan and grease is hot! Remove lid and turn heat up some and cook until all of the bacon and potatoes are crispy and browned. Salt and pepper to season. Next, if you are using the same pan, blot the pan a bit and remove excess bacon grease. Or if using smaller broiler safe dishes, use a slotted spoon to drain, and transfer the bacon hash into 4 individual dishes. Crack one egg on top each bacon hash dish and place under the broiler for approximately 3 minutes or until the whites are done. Sprinkle some cheese on top, if desired, and return to the broiler to melt.


Just a few ingredients for this homemade hash! 

Try and dice potatoes evenly. Yeah, easier said than done, haha. ;) 

Add potatoes to the partly rendered bacon and continue to saute. 

Drain some of the bacon fat if too much before broiling the egg. 

Crack an egg on top of the bacon hash and broil egg until set. 

Cut into the egg and enjoy your hash.
If you are not a broiled egg fan, you can eat the hash as it is, or serve with a side of scrambled eggs as well. 

Yummy note: So I got lost (in a good way) a few times on the Kitchen Witch blog meandering through her beautiful pictures. Someday, I want to capture images like Rhonda does. :) Rhonda has some amazing shots, not only of food on her site, but art. You should really visit her photography site and see what other things Rhonda likes to shoot, besides yummy food ;) Speaking of yummy food, if bacon hash doesn't look like your thing, she has plenty of other options! Other recipes that caught my eye from Rhonda was this brisket, -this looks simple and delicious that I might have to try making this one when I need to feed a crowd the next gathering. The other top one was this venison lo mein. I really need to try and make this at home again; the last time I tried the noodles became mush. She had a good tip that I will share, and she said to just use regular or leftover spaghetti noodles for this dish! Well, duh, why didn't I think of trying to use those, instead of those mushy sticky noodles I attempted to try before. Make sure to visit the Kitchen Witch for other great tips and tricks like this from Rhonda.


Sunday, May 17, 2015

Rhubarb Berry Muffins

Yummy note: When life gets busy, I bake. Seriously, it is almost more therapeutic than anything else. Not sure if it is the process of doing something and feeling accomplished that I finished it in a desired amount of time, or if it is just because I get to indulge in something yummy :)  With all of the end of the school year functions going on, teacher appreciation week, volunteer appreciation day, baseball starting and such, whew.. I knew I had to find something fun to bake. Hooray, cue in this month's Secret Recipe Club assignment. This month, I was assigned Cook with Sara. Sara had a bunch of comfort food recipes, but what stood out to me the most was she had an amazing selection of baked goodies..oh, this lady rocks, oh, and I should mention she is from the Midwest like myself... yep, excellent connection, perhaps that is why I liked her recipes so much ;-) Soo many decisions... I recently found some frozen rhubarb in my freezer from last season, and knew I had to use it up in the next month or so. When I had came across several different recipes using rhubarb on Sara's blog, I thought that would be fun. Plus, who doesn't love the sweet and tartness of rhubarb. I chose to make the rhubarb blueberry muffins as they could be easily packaged up and shared with others. These muffins were so flavorful and packed full of deliciousness, many compliments were given. So thank you Sara for this recipe, as it was a hit.  


Rhubarb Berry Muffins

Ingredients: 
1/2 cup butter, softened
1 1/2 cups sugar
2 eggs
1-6 oz. container yogurt (blueberry or plain)
2 1/2 cups whole wheat flour
1/2 cup quick oats
4 tsp. baking powder
2 tsp. salt
2/3 cup milk

2 cups chopped rhubarb (fresh or frozen)
2 cups of blueberries (fresh or frozen)*

*Original recipe stated to use 2 cups of blueberries, but I ran out, so I substituted 1 cup of strawberries, along with 1 cup of blueberries. 

Directions: 
Preheat the oven to 350 degrees. Cream the softened butter and sugar together. Add in the eggs and yogurt. In a different bowl, combine the flour, oats, baking powder, and salt. Mix the dry ingredients, alternatively with the milk, into the batter. Then fold in the blueberries, strawberries, and the rhubarb. For best results, use paper-lined muffin cups, and fill muffin tins about 3/4 full with the batter. Bake at 350 degrees for about 20-25 minutes, or until tester comes out clean. You may also make these into mini loaves of bread and bake for about 25 minutes as well. I topped some of these breads/muffins with a simple powdered sugar frosting, using about 1 cup of powdered sugar, 2 tbsp water and 1/2 tsp vanilla.   


Mini Rhubarb Berry Breads 

Rhubarb, frozen or fresh, works wonderfully in this recipe. I thawed my frozen rhubarb slightly before adding it to the batter. 

I used a combination of strawberries and blueberries, but you could use any berries or fruit with the rhubarb. 

Be careful not to stir the batter too much when you add in the fruit, just fold it in gently to avoid over-mixing.
Fill muffin cups about 3/4 full. 


Bake rhubarb berry muffins about 20-25 minutes until golden brown and set.
Mini breads topped with a simple frosting/glaze.
These little breads are packed full of yummy goodness! 


Please visit Sara over at Cook with Sara, as she has some of her favorite recipes ready to share with you. Here's a couple, I can't wait to try out later-  restaurant-style salsa and creme egg brownies.      


Saturday, January 18, 2014

Pinterest 1 hour cinnamon rolls

Yummy note: Oh boy, I thought this was going to be one of "those" Pinterest recipes that might not work how I hoped.. and well it has had some good and bad reviews by some comments on other blogs, but it appears to work more than not.. so I wanted to try and figure out why it failed for some and not others.  I found this recipe right before the holiday season and decided to try it out and make some cinnamon rolls for my neighbors this year instead of all of the holiday sweet treats. Wow, it was a great, the original huge batch made enough for everybody in the neighborhood! The other thing that appealed to me was the "1 hour" claim, which really is more like a little more than hour, as interruptions happen. So I got rave reviews from the friends about these rolls, they are amazing the first day and they still tasted great even a few days after with a little rewarming in the microwave. I made them again for the holidays back home, but instead made them into wreaths. I have a picture below to share :) My mother-in-law informed me that her mom used to make these cinnamon roll-like wreaths when they were younger, so this was pretty cool to try with her and kinda brought back some great holiday tradition stories to share. So then I shared out this link for the others to try, my family tried using this original recipe, but cut in half, and had a few issues with it, so I went back to the drawing board to take a look at what might have gone wrong. In the few times, I made it, I think my success with these rolls had to do with these 3 things- yeast, water temperature, and kneading, so I added a few more notes at the bottom to reference these tips. 


Pinterest 1 hour cinnamon rolls
Adapted from http://thismomsmayhem.com/pinterest-1-hour-cinnamon-rolls/ and http://valleyridgerecipes.blogspot.com/2010/04/cinnamon-rolls_17.html

Ingredients:
14 tablespoons warm water (I used about 110-115 degree water)
2 1/2 tablespoons sugar 
2 tablespoons vegetable oil 
4 1/2 teaspoons SAF Yeast 
3/4 teaspoon salt 
1 egg 
2 1/2 cups plus 2 tablespoons of flour (You may need to add in a few more tablespoons of flour while kneading the dough if it appears too sticky.) 


Filling: 
1/4 cup butter, melted (I used a non-dairy spread here to make the cinnamon rolls dairy-free) 
1/2 cup sugar (I've used white sugar and brown sugar before. Brown sugar gives you a bit more caramel-like flavor.) 
2 1/2 teaspoons cinnamon 
*optional could add in some chopped cinnamon chips, nuts, or raisins if desired  

Icing:
2-3 cups powdered sugar 
1 teaspoon vanilla 
2-3 tablespoons milk (I used a non-dairy vanilla flavored coffee creamer here.) 


Directions: 
Preheat oven to 400 degrees. In a large bowl, mix the sugar and yeast together. Next add warm (110-115 degree) water and oil. Mix it together just for a few seconds, until the yeast is incorporated. Let it sit for 15 minutes, you will notice the yeast mixture will start to get activated and foamy. During this process, I just set my bowl on top of the oven to absorb some of the extra heat that the oven was giving off. After 15 minutes rest, add in the salt, egg, and flour. Mix it all together and knead the dough for about 10 minutes. If the dough feels too sticky or wet (basically too hard to handle while kneading), add in a few teaspoons of extra flour. After kneading for 10 minutes, let the dough stand for 10 minutes. Again, I just let it sit on top of my stove while I was preparing my filling. For the cinnamon filling, mix sugar and cinnamon in a small bowl and melt butter in a separate bowl. Next, put a little bit of oil on a silicon mat or parchment paper and roll/pat out the dough into a rectangle. My dough fit into about a large cookie sheet so it was easy to contain the mess while rolling it out. Pour and brush the melted butter on the dough. Sprinkle the cinnamon/sugar mixture out evenly. Then roll up the cinnamon roll to make a long "snake" as my kids would call it. :) Cut into even pieces, about an inch or so wide, you should get roughly about 12 rolls. Place rolls on a baking sheet, lined with parchment paper. Let the rolls rise one last time for another 10-15 minutes. Then bake for about 10 minutes or so, until lightly brown. Let the rolls cool. Prepare icing by mixing the powdered sugar with the vanilla and milk. Whisk together until it is smooth and you have reached the desired consistency for the icing. If it appears too thin, add in more powdered sugar, if it looks too thick, add in a bit more water or milk. Once rolls are cool enough to touch, drizzle with icing. 

Extra Yummy Notes: 
I have only used two different yeast brands, both were SAF yeast, basically an active dry instant yeast. This SAF yeast  you can buy online from like King Arthur Flour product line or I bought mine at a kitchen specialty store. OR some that I got at a local grocery store was the Red Star SAF Gourmet Perfect Rise Yeast. Please comment or share if you have luck or no luck with other brands of yeast, as I love to get that information to help others.  

Water temperature is also important I think, as most yeast packets will say what the best temperature is for activating it. With this recipe, I don't exactly know what "warm water" met with the original recipe, so I put my digital meat thermometer into the water and checked the temperature before I mixed it into the yeast, I went with about 110-115 degree water for my yeast. The other thing is to make sure you mix the dough for the whole 10 minutes. Seriously, I got a good workout practically when I've made these rolls by hand. I like to get my hands on the dough though, I think it is therapeutic for me as I do enjoy it. :)  So I kneaded the dough by hand for 10 minutes. Two of the times, I used a hand mixer with a dough hook, but I had some issues with the dough sticking to the hook a bit, so I then just used a wooden spoon to finish the rest and kneaded it by hand.  I really don't think it gets as incorporated and activated as well when using a hand mixer, unless you have a heavy duty mixer. Which the one time I used my big KitchenAid it ended up working pretty good. The times I used a mixer, my dough appeared to be a little more wet or shaggy-looking, which made it a little harder to cut the cinnamon rolls towards the end.  

One other thing I did with this recipe, was I modified the original down to make about one pan of 12 rolls and not a few dozen. Also, I made it a few times dairy-free, using butter and milk alternatives, which is super easy! Earth Balance Spread and their Sweet Cinnamon "butter" spread worked great as a substitute for butter here. Also, I used a dairy-free creamer in the frosting instead of milk to accommodate. 

Captured a few cinnamon roll making steps along the way.  
Rolls - 1- before first rise --   2 - after rise before going into oven and
-- 3 - size when baked

Holiday Cinnamon Roll Wreath

The 2 different brands of yeast I've used in the past yielding good results. 


Monday, February 25, 2013

Banana Bread Donuts


Yummy note: This is a perfect little breakfast, or snack day or night for us. It can be easily adapted to make dairy-free and nut-free which is so nice, as it is hard to find any commercially-prepared donuts that don't have dairy in them. My youngest loves these donuts, and my oldest really likes chocolate chip banana bread, so it was a nice compromise for the two. :) Not to mention, we like to always have these donuts in a hidden freezer stash for us to enjoy. It makes a perfect cold, frozen treat for those little ones when they are having a bad day, especially if they are teething and want something to chomp on that doesn't involve lots of sugar! Besides these donuts being wonderful right out of the freezer, they stay very moist for several days after baking them. My daughter helped me do a lot of the photos for this post, she is getting to be a pretty good little photographer for only 6 :)  Way to hold the camera and for having a good eye, Alicia. 


Banana Bread Donuts

I was inspired to make these by these two recipes:

http://itsyummytomytummy.blogspot.com/2010/04/banana-bread.html

Ingredients:

1 cup mashed bananas (about 3 small ones) (the browner the bananas the better)
1/2 cup sugar
1/2 cup yogurt (use a soy yogurt to make these dairy-free)
1/4 cup butter, melted (use a dairy-free alternative butter, or canola oil works) 
2 eggs
1 tsp vanilla
2 cups flour (use regular all-purpose and whole wheat flour)
1 tsp baking powder
1/2 tsp baking soda
1/4 tsp salt
1 cup chocolate chips, optional Note: Other optional ingredients is to add chopped nuts or even cinnamon chips to your batter before baking. Finishing ingredients: cinnamon/sugar for dusting, or a glaze using chocolate or vanilla frosting


My helper in the kitchen.. 


Directions:
Preheat oven to 325 degrees. Lightly grease/spray donut pans. In a mixing bowl, combine bananas, sugar, yogurt, vanilla, melted butter, and eggs. Next, pour in flour, baking powder, baking soda, and salt. Mix until the batter is incorporated. Add in optional chocolate chips or nuts at this point.
For ease of filling the donut pans, do yourself a favor and put the batter into a plastic baggie and cut the corner to eliminate lots of mess. Fill the donut pans about 1/2 to 3/4 full.
The pictures in this above collage were all taken by my 6 year old daughter, Alicia.  Note, I only had to recrop one of her pictures  above of the donut batter, the rest are Alicia's work!


Bake in the 325 degree oven for about 8-9 minutes for the small donuts, and about 10-11 minutes for the larger-sized donuts. Once donuts are done, cool them for a few minutes in the pan, but then remove them from the pan quickly before they get too hard to remove them. Toss with cinnamon/sugar coating or glaze with your choice of a simple frosting/glaze. This recipe makes atleast a dozen or so large donuts, plus a pan or so of little donuts. We like to use both sizes; the little donuts makes great little snacks for the kids.  


Monday, November 5, 2012

frozen yogurt covered fruit bites

Yummy note: I had a large container of soy yogurt that was getting close to the expiration date, so I knew I needed to use it up quick. I already had made some muffins and didn't want to use it for baking, so I decided I was going to use it for smoothies later. Then it hit me, how about some frozen yogurt bites for the kiddo... Sure, that would work, however, he LOVES fruit, so why not do frozen yogurt fruit bites instead! These sure have been a nice healthy snack to just pop out of the freezer in a snap to enjoy. Next up, I make a bigger batch and throw some in my morning smoothies that way!


Frozen Yogurt Covered Fruit Bites


Ingredients: 
Container of yogurt, your choice, I used what I had leftover, which was a plain flavored soy yogurt.
Fruit - I used blueberries and a sliced banana (next time I want to try strawberries or cranberries perhaps would be a nice sweet treat)


Directions:
Toss blueberries or other desired fruit in a bowl of yogurt. Stir yogurt and fruit, enough to cover.  
 
Then take two toothpicks and begin to fish out your covered fruit. This is the most tedious part, but it really goes by faster than you think, once you get going.


Place yogurt covered fruit onto a waxed paper lined cookie sheet and place uncovered in the freezer for atleast a half hour. At this point, they might be starting to set up a bit, really depends on your freezer. I actually forgot about mine until the next day and then pulled them out of the freezer and they were pretty solid, lol. However, it was perfect for packaging up!
 

I also made a chocolate yogurt covered banana slices, as I still had plenty of yogurt left after the blueberries. I just added in a few teaspoons of cocoa powder and a little drizzle of chocolate syrup for sweetness and it was perfect to taste.
 

I think these were my favorite of the two fruits, as it has been a nice healthy snack when I go looking for ice cream in the freezer!  :) 

Friday, July 27, 2012

Pancake and Sausage Muffins

Yummy note: Seriously, these rock.  I think I saw it before and people called it a “puffin” – basically mini baked pancake muffins!  I’m not sure where I first saw something along these lines, but it is sure genius. Especially when you can bake the sticky gooey sweet syrup right inside the pancake and it doesn't get all over! It is an easy clean up on those busy days! There are a bunch of homemade mix recipes out there, but for our house, pancakes are often a quick meal for us to throw together. Knock yourself out and use a homemade pancake mix if you wish, but the Bisquick worked quick and easy. When we are busy and on the run, the least amount of hassle, the better. Using a premade pancake mix, like Bisquick, it is as easy as 1-2-3 practically to make handheld pancake muffins pretty quick. These are like a meal on the go, when you toss in some precooked sausage or bacon and drizzle in a little syrup. Delicious. Mnnnmnnmn… When I made these, both kids, seriously gobbled down I think atleast 2 muffins. It was a total hit.


Pancake and Sausage Muffins

Ingredients: 
2 cups Bisquick2/3 cup milk (we used soy milk)
2 eggs
about a 1/3 - 1/2 cup of pancake syrup
1 cup of cut up precooked breakfast sausage*
* Could also use various other add-ins instead of the sausage, such as bacon, blueberries, chocolate chips, bananas, etc..) 


Bisquick mix in the pantry is a staple in my kitchen! 


Directions: 
Preheat oven to 350 degrees. Prepare your muffin To make the process even easier, use a large measuring cup or easy to pour bowl to stir the batter up in.

That way you can just pour the mix directly into the tins. Stir together the pancake mix, with the milk, eggs, and syrup. Mix together and pour in greased muffin pan or pour into cupcake liners. 


Top with already cooked sausage or any other additional add-in you’d like. 


Bake for about 15-20 minutes or until they start to set up and get a little golden brown on top. Remove from pan and serve warm. These little things warm up nicely the next day as leftovers too, if they last that long! :) 


Enjoy with a little butter on top. Best served warm for breakfast, supper, or an anytime treat. 


Sunday, May 13, 2012

Caramel pull-a-part biscuits (aka mini monkey breads)

Yummy note: This Sentimental Sunday post is a recipe that my sister and I used to make a lot with my mom growing up. Some call it monkey bread, others call it caramel pull-a-part biscuits; at my house my daughter calls it quick caramel biscuit rolls. Either way, it's gooey, sweet, caramely goodness. This is a good recipe for extra little hands to help with (like they call pull apart the biscuits, shake up the bag later, or even count out the biscuits as they evenly distribute them into the tins). Either way, just make sure you get your kids involved in the kitchen! Such great memories and lessons can be learned while working together. So this was a fitting recipe for this Sunday to celebrate Mother's Day with all of you out there. 


<3    Happy Mother's Day !   <3


Caramel Pull-A-Part Biscuits (aka Mini Monkey Breads)
Recipe probably adapted from this as I think this is similar to my mom's recipe. 


Ingredients: 
1/4 cup butter or margarine, melted
1/4 cup packed brown sugar
2-3 tbsp granulated sugar
1-2 teaspoons ground cinnamon
1 can refrigerated biscuit


Directions:
Grease about 6 muffin cups. Melt butter and stir in brown sugar. Pour butter/sugary mix equally into the greased muffin tin. Roughly, a tablespoon goes into each muffin cup. In a gallon-sized plastic bag, shake the sugar and cinnamon together; then add the cut up pieces of biscuits and shake again until all of the pieces are coated. Distribute the sugary coated pieces into the muffin tins, and bake at 350°F for 12 to 15 minutes or until golden brown. Cool 1 minute; then turn upside down on plate. These are best served warm. If you are like my daughter and want a little extra jazz on top, you may add a quick powdered sugar and milk glaze to drizzle on top of the warm caramel biscuit treat. Enjoy.


*Yummy note: This recipe can easily be doubled or tripled to make a larger batch. Growing up, we used to make a large batch, and throw all the pieces into a bundt pan and bake it roughly 30-40 minutes until it was bubbly brown and caramely.